
Collecting & grading
How to Photograph Magic Cards for Sale
A practical, phone-camera guide to lighting, angle, background, and defect-disclosure photos that get an MTG singles listing accepted and trusted, without pretending a photo can authenticate a card.
A useful listing photo answers a simple question: what will the buyer actually receive? You can answer it with a phone, a clean lens, even light, and a table. Show the complete card first, then add close-ups only where a buyer needs more information about the surface, edges, corners, foil, or a disclosed defect.
Photograph the copy you are selling
The card in the listing should be the card in the envelope. TCGplayer’s Listings with Photos policy (opens in a new tab), updated September 23, 2024 and reviewed August 29, 2026, requires at least one photo of the seller’s actual physical item rather than a stock or catalog image. It recommends showing both the front and back. The program also excludes store logos, marketing text, borders, and people in the frame.
eBay’s picture policy (opens in a new tab), reviewed August 29, 2026, prohibits stock photos for used, damaged, or defective items. A polished image of the card name is not evidence about your copy. It can hide a whitening corner, show a different printing, or make a foil finish look like something it is not.
That is the standard for every marketplace, even where a particular program’s rules differ: the photo should help a buyer compare the physical card with the title, printing, finish, language, and condition in the listing.
Set up a small, repeatable station
A recent smartphone is enough for a clear full-card shot. The important equipment is not a DSLR or a lightbox. It is a clean camera lens, a stable place for the phone, and light you can control.
- Wipe the phone lens with a soft cloth. Fingerprints create a haze that looks like bad lighting.
- Put the card on matte white, gray, or black card stock or fabric. Pick a color that contrasts with the card’s border.
- Keep the phone parallel to the card. A small tripod helps, but a stack of books or elbows on the table works too.
- Turn on the camera grid. It makes it easier to keep the card square and to repeat the same framing for the back.
- Leave a narrow, even margin around the card. The entire edge and all four corners must remain visible.
A sleeve can create reflections, blur the edge, or conceal a surface defect. For the main condition photos, photograph the card without a sleeve when the marketplace and the card’s safety allow it. Handle it by the edges and put it back into protective storage immediately after shooting.
Use light that reveals detail
Bright is not the goal. Even, diffuse light is. A bare bulb or direct sunlight can turn a foil card into a white hotspot and hide the very scratch a buyer needs to see.
Indirect daylight near a window is a reliable starting point. Set the card beside the window rather than pointing the camera into it, and let the light fall across the card. On an overcast day, the light is usually soft enough to show color and surface without a hard reflection.
For indoor light, use one consistent source. A desk lamp softened by a sheet of white paper or thin cloth is easier to control than a warm bulb mixed with daylight. Mixed color temperatures can push one side of a card yellow while the other looks blue. Turn off the phone’s flash, which creates a small harsh reflection at close range.
Foil cards need two lighting approaches. The straight-on shot under diffuse light shows the card’s printed colors. A second shot with the light source at a shallow angle lets the foil’s rainbow or pattern catch visibly and shows the finish’s condition. Neither shot alone tells the full story for a foil card. The angled view shows how the surface reflects light, not that the card or finish is authentic.
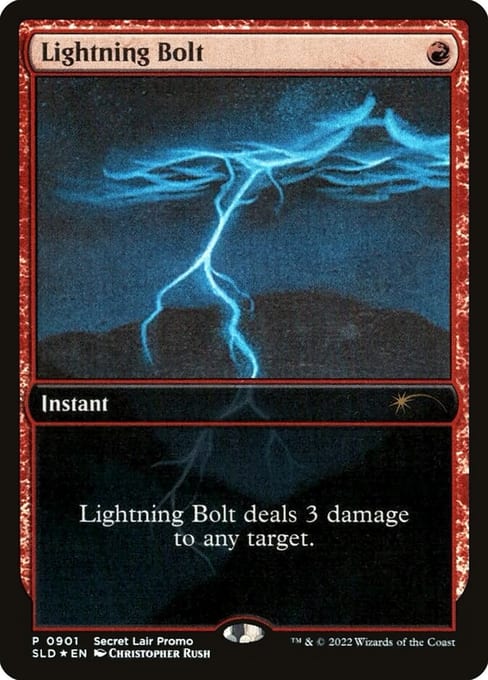
Scryfall’s catalog entry for Secret Lair Lightning Bolt, collector number 901 (opens in a new tab) identifies it as a foil-only promo. A listing for that copy has to say Secret Lair 901 foil, not a generic Lightning Bolt, and the photos have to be of that physical card. In a catalog image the foil still reads almost flat. That is the limitation: the photo can show the printing, not the way the surface catches light in hand.
Make the full-card shots flat and complete
Take the front and back straight on, with the camera parallel to the card. A tilted camera turns the rectangle into a trapezoid and makes centering hard to judge. Align the edges with the camera grid and keep the same distance and lighting for both sides.
Do not crop the edges out. A buyer needs to see the complete border, corners, and card back. Do not add a filter, remove a mark, or retouch a flaw. If an app tries to auto-crop or beautify the image, turn that feature off and keep the original full-card file.
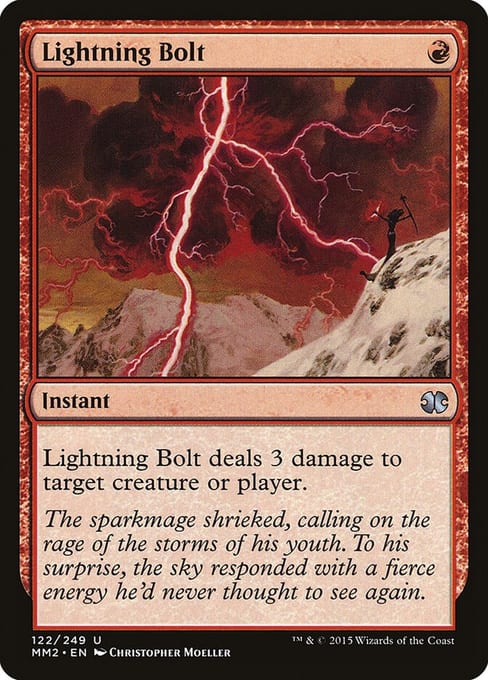
After the flat pair, take a separate angled shot for surface inspection. Raking light that skims across the card can reveal a scratch, scuff, clouding, or indentation that disappears under a broad, flat light source. The angled view has a different job from the front and back, so label it or place it beside a clear description of what it shows.
Use close-ups to disclose a consequence
A close-up earns its place when it lets a buyer see something the full card cannot show at listing size. Work from the card’s actual defects rather than taking a large set of decorative thumbnails.
- Photograph each worn corner close enough to show whitening or rounding. If all four corners look different, show all four.
- Photograph any chipped or frayed edge, including the side and location in the listing text.
- Use raking light for surface scratches, scuffs, clouding, or an indentation that only appears at an angle.
- Give a crease, stain, water mark, ink, or other alteration its own in-focus image. Make the defect large enough to judge, but keep enough surrounding card visible to show where it is.
- Add the foil-angle shot for foil, etched, or another reflective treatment. Keep the full-card image too, since the angle can obscure color and centering.
The point is not to make a defect dramatic. It is to remove a buyer’s need to take your word for its size and position. Staging the shot the other way fails just as badly: do not crop, angle, or selectively light a photo in order to make a defect look smaller than it is. A buyer who concludes a photo was arranged to hide wear has a complaint that survives even a fair condition grade. When a card sits between two grades, photograph it plainly and state the more conservative one. Myth & Mint’s Magic card condition guide uses the same surface, edge, corner, crease, clouding, scratch, and water-damage vocabulary from the buyer’s side of the transaction, and the marketplace-listing guide shows how a buyer reads those photos against the grade you claim.
Keep color honest
The photo should resemble the card in hand under ordinary light, not a brighter or more saturated version designed to win a click.
Turn off beauty, scene-enhancement, and automatic color filters where your camera app allows it. Avoid mixing warm indoor light with daylight. If you adjust exposure to rescue an otherwise underexposed shot, keep the change modest and compare the result with the card in hand. Do not increase saturation or vibrance, apply a color filter, or edit out a flaw.
If you change your setup, photograph a card you know well first. Compare the screen with the card under normal room light. This catches a yellow cast, an overly blue background, or glare before it affects a sale listing.
Photograph the package before it leaves
The listing photos document the card for the buyer. A final photo of the card in its shipping package serves a different purpose. After the listing shots, put the card into its actual protective packaging and take an optional record before sealing the parcel. Keep that record with the order until the buyer confirms safe delivery or, if a claim is opened, until the claim is resolved.
If insured mail is lost or arrives damaged, either the sender or recipient may file a USPS claim. USPS’s domestic claims guidance (opens in a new tab), reviewed August 29, 2026, asks the person filing to document the damage with photos, keep the original packaging and contents, and provide proof of insurance and value. A pre-shipping photo is optional seller documentation, not a USPS requirement, but it can help establish the card’s condition before shipment.
Use packaging that keeps the card from moving, bending, or rubbing during the trip, and photograph the final arrangement without implying that the photograph guarantees safe delivery. The package photo supports a record. It does not replace the carrier’s claim requirements or the marketplace’s process.
A publishing checklist
Before you post the listing, check each of these:
- The camera lens is clean.
- The background is plain, matte, and contrasts with the border.
- The light is diffuse and consistent, with no mixed warm and daylight sources.
- Flash, beauty mode, scene enhancement, and color filters are off.
- The full front and back are uncropped, unaltered, flat, and square to the camera.
- Every visible edge and corner remains in frame.
- A raking-light shot shows surface wear that flat light hides.
- Corner, edge, and defect close-ups show anything the full card cannot.
- Foil or etched cards have both a flat full-card view and an angled finish view.
- The listing text’s stated printing, language, treatment, and condition agree with the images.
- No shot is cropped, angled, or lit to make a defect look smaller, and a borderline card carries the more conservative grade.
- The photos show the actual copy being sold, not a stock image.
- The final package has an optional pre-shipping record if you want one.
A clear phone photo cannot authenticate a Magic card. Authenticity involves separate checks such as comparing the exact printing, card stock, weight, and fine print. Myth & Mint’s counterfeit guide covers that inspection. Good listing photography does a different job: it gives the buyer an honest view of one physical card and makes condition differences visible before money changes hands.